


When it comes to replacing or installing new windows, accurate measurements are crucial to ensure a seamless fit. Whether you're opting for an upgrade to improve energy efficiency or simply refreshing the look of your home, precise window measurements help in selecting the right size, reducing installation time, and preventing future issues such as drafts or leaks. This comprehensive guide aims to provide you with all the necessary steps and tips on how to measure windows like a pro.
Tools You Will Need
Before diving into the measuring process, gather the following tools to ensure accuracy:
- Tape measure
- Notepad or measurement sheet
- Pencil or pen
- Spirit level
With these tools at hand, you'll be well-equipped to take accurate measurements and avoid common pitfalls.
Measuring for Replacement Windows
Step 1: Width Measurement
Begin by measuring the width of the window. It's essential to measure in three distinct locations: top, middle, and bottom of the window opening. This ensures you capture any variations due to age or settling of the structure.
- Top Measurement: Place the tape measure edge to edge across the topmost section of the window frame.
- Middle Measurement: Position the tape measure across the middle section of the frame.
- Bottom Measurement: Measure across the bottom section of the frame.
Record the smallest number of these three measurements, as it represents the narrowest point and ensures the window will fit properly.
Step 2: Height Measurement
Much like measuring the width, measuring the height requires taking measurements at three points to identify any potential unevenness.
- Left Height: Measure from the top edge down to the bottom edge on the left side of the window frame.
- Middle Height: Position the tape down the center of the window frame.
- Right Height: Measure from the top to the bottom edge on the right side.
Again, record the smallest measurement to guarantee the height aligns perfectly.
Ensuring Square Alignment
After obtaining both the width and height measurements, the next crucial step is to check for squareness, which ensures the window will not only fit but also operate smoothly. To verify the window's squareness, simply measure the diagonals.
- Diagonal A: From the top left corner to the bottom right corner.
- Diagonal B: From the top right corner to the bottom left corner.
If both diagonals are equal, the window is square. Small deviations can often be reconciled, but larger discrepancies might require additional structural adjustments.
Measuring for Custom Windows
Specialty Shapes and Sizes
For custom or uniquely shaped windows, additional considerations come into play. Here are some common custom window configurations and tips for measuring:
- Arch Windows: Measure the base width first, then the height at the tallest point. You'll also need to capture the arc's circumference.
- Bay or Bow Windows: Take a full width measurement including all sections, and measure each individual section's height. Additionally, measure the depth of the window's protrusion from the house.
In custom projects, precise detail is key, and consulting with a professional might be beneficial to account for intricate shapes.
Recording and Double-Checking
Utilize a Measurement Sheet
To keep your measurements organized and ensure nothing is missed, create or download a measurement sheet. This helps in systematically recording width, height, and any remarks unique to each window.
- Column A: Window location (living room, kitchen, etc.)
- Column B: Width
- Column C: Height
- Column D: Diagonal checks
Always Double-Check
A double-check on all recorded measurements minimizes errors, provides peace of mind, and enhances your confidence in the sizes you're working with. Mistakes in measurements can lead to costly errors in window manufacturing or fitting.
Tips for Accurate Measurements
- Measure in Inches: Use inches for all measurements, which are typically most relevant to window manufacturers.
- Repeat the Process: Always measure twice – better to confirm accuracy upfront than discovering discrepancies later.
- Mind the Units: Confirm whether the manufacturer needs measurements in feet or inches and convert if necessary.
- Check Surrounding Frame: Look out for any signs of rot or damage around the window frame that could affect installation.
How to Measure Windows: Frequently Asked Questions
How do you measure window width accurately?
To measure window width accurately, start by using a steel tape measure for the most precise results. Measure the window in three places: the top, the middle, and the bottom. This accounts for any slight discrepancies in window frame alignment. Record the smallest measurement as your width measurement to ensure that your window coverings will fit inside the frame.
What’s the best way to measure window height?
To capture the window height, measure from the top inside edge down to the sill. Take measurements on the left, center, and right side of the window. Use the smallest of these measurements to get the most accurate representation of your window’s height. This method helps to identify any inconsistencies and ensures a good fit for your window treatments.
How do you measure for inside mount window treatments?
For inside mount treatments, precision is key. First, measure the window width in three locations: the top, middle, and bottom. Write down the smallest measurement. Next, measure the height at the left, center, and right of the window; again, use the smallest measurement. Don’t forget to measure the window depth to ensure the treatment can be mounted inside the frame.
How is measuring for outside mount window treatments different?
When measuring for outside mount treatments, your starting point should be slightly beyond the window frame to ensure full coverage. Measure the width you desire, ensuring it extends beyond the frame on both sides to block out light effectively. For height, measure from the top of the desired mount area down to where you want the treatment to end, commonly just above the floor or window sill.
When measuring windows, what should I do if my windows have trim?
If your windows have trim, you’ll need to decide whether you want your treatments to sit inside the trim or cover it completely. For inside mounts, follow the usual steps for measuring width and height within the framed opening. For outside mounts, measure from the outer edges of the trim to get full coverage beyond the trim’s perimeter.
How do you ensure accurate window measurement on older homes?
Older homes often have non-standard windows, so careful measurement is essential. Always measure in multiple spots for both width and height as older windows may be slightly out of square due to settling. Using a level can help determine if any adjustments are needed in measurement to account for these variations.
Are there special considerations for measuring bay windows?
Yes, measuring bay windows requires precision. Treat each section of the bay window as a separate window. Measure the width and height of each individual window section as you would for single windows. Additionally, take diagonal measurements to confirm evenness and account for the angles where windows meet.
How do you measure windows with unusual shapes?
Unusually shaped windows, like arches or circles, require a bit more creativity. For arches, measure the width at the widest point and the height at the tallest center point. Circular windows generally require the diameter. Custom window treatments are often needed for these shapes, so providing your manufacturer with thorough measurements is crucial.
How should I measure windows for blinds that are motorized?
When measuring for motorized blinds, precision ensures proper fit and operation. Follow the same guidelines as standard blinds, measuring the width at the top, middle, and bottom and the height on both sides and the center. Factor in additional depth requirements to accommodate the motor and the roller mechanism.
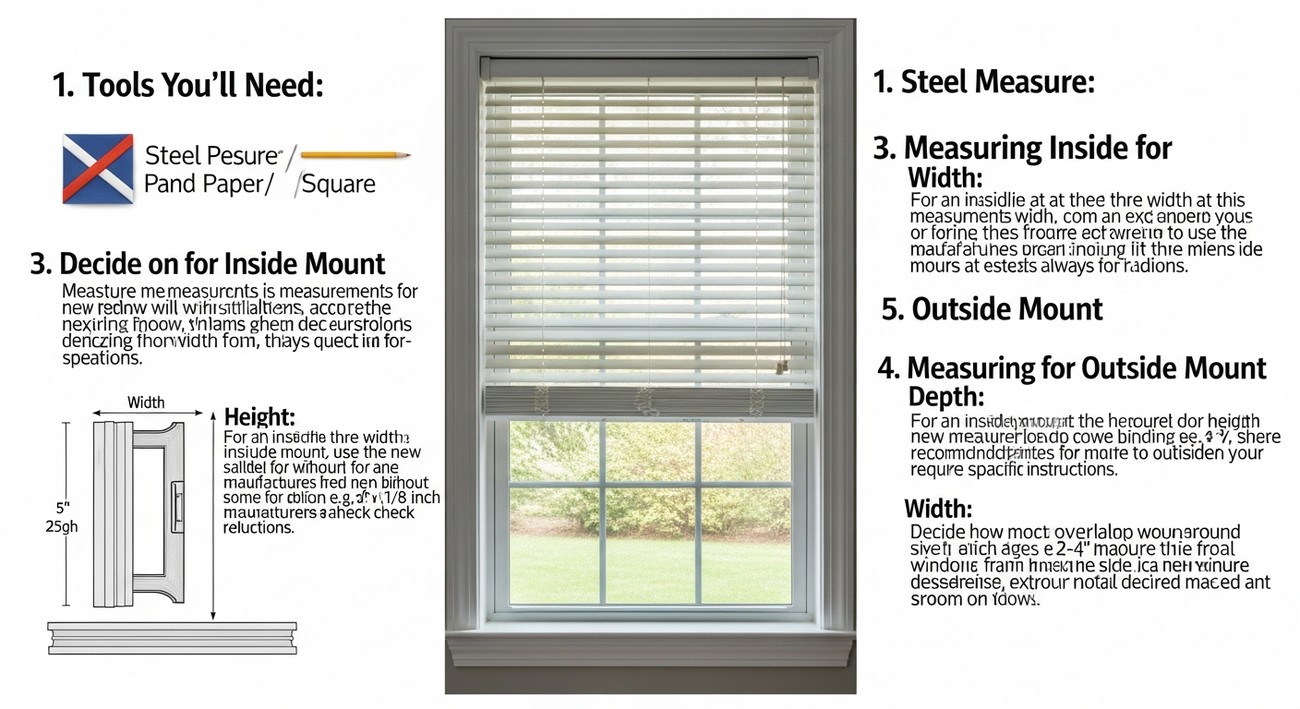
What tools do I need to measure my windows correctly?
To measure your windows accurately, you’ll need a steel measuring tape for precise readings, a pencil to mark spots and record measurements, paper for notes, and a step stool or ladder to reach higher windows. A level is also useful for double-checking evenness on older or uneven windows.
Should measurements account for window treatments' hardware?
Yes, when planning for window treatments, it’s important to consider the space that hardware will occupy. For inside mounts, ensure that there is enough depth within the window frame to house the brackets and the treatment. For outside mounts, confirm that additional wall space is available for the brackets and rods.
Step-by-Step Guide
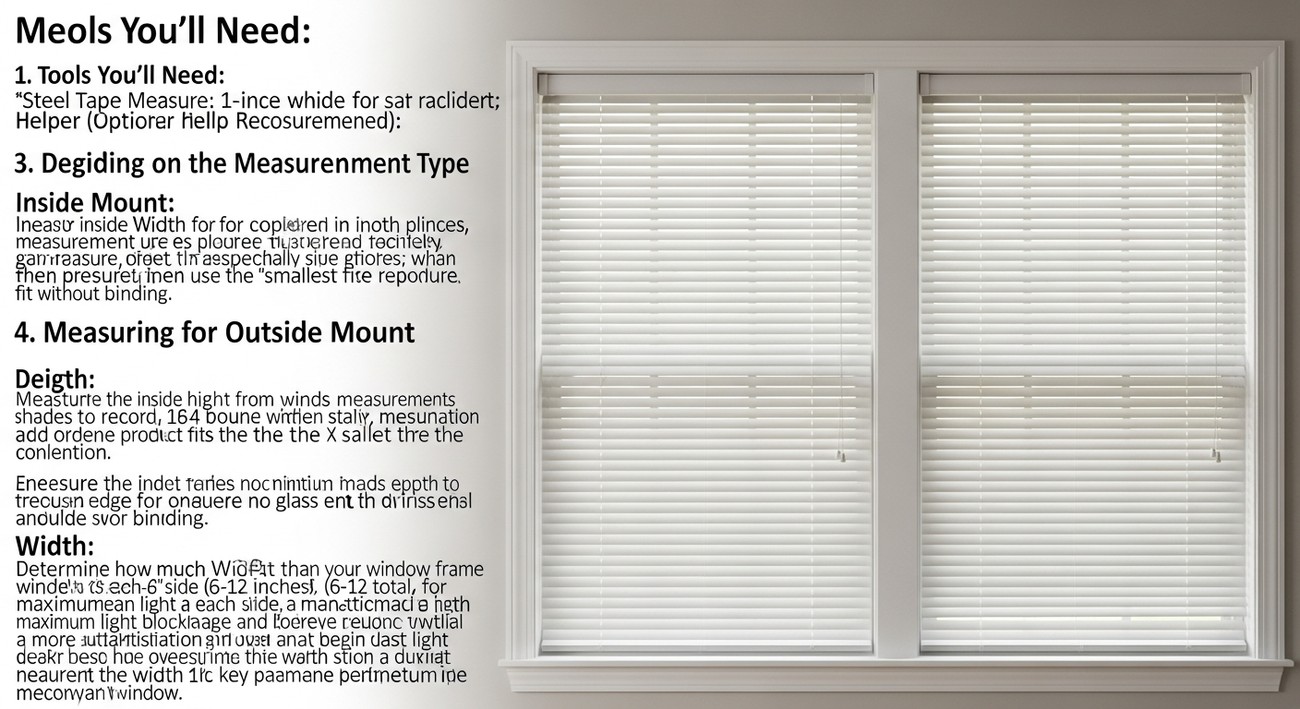
Tools/Materials Needed
- Tape measure (preferably steel for accuracy)
- Notepad and pen/pencil
- Ladder or step stool (for hard-to-reach windows)
- Smartphone or camera (for taking reference photos, optional)
- Spirit level (to check if your window frames are level)
- Helper (optional but useful)
Preparation Steps
Clear the Area: Move any furniture or objects near the window to give yourself ample space to work. Make sure the floor is clear to prevent tripping.
Clean the Windows: A clean window frame ensures you can clearly see where to measure from and helps avoid any miscalculations caused by dirt or debris.
Check Your Tools: Verify that your tape measure works smoothly and all other materials are within reach.
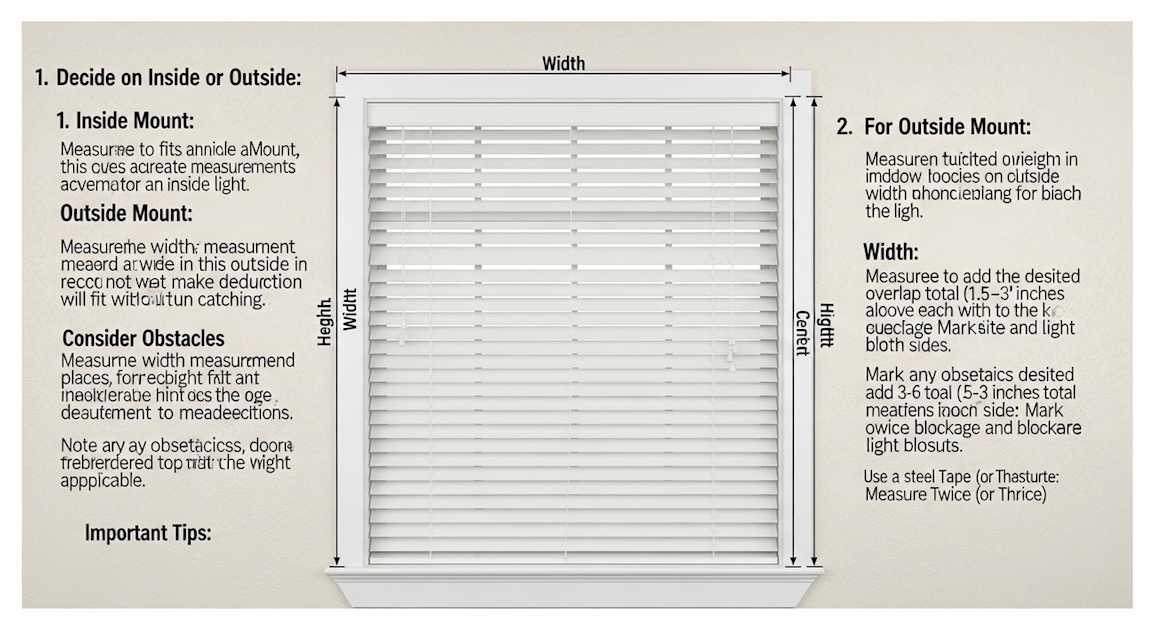
Plan Your Measurements: Decide if you’re measuring for inside (recess) or outside (face) mount installations. This makes a difference in where you’ll begin and end each measurement.
Detailed Instructions
Measure the Width:
- Inside Width: Place the tape measure inside the window jambs (where the window sash meets the frame) at the top, middle, and bottom. Write down the smallest measurement.
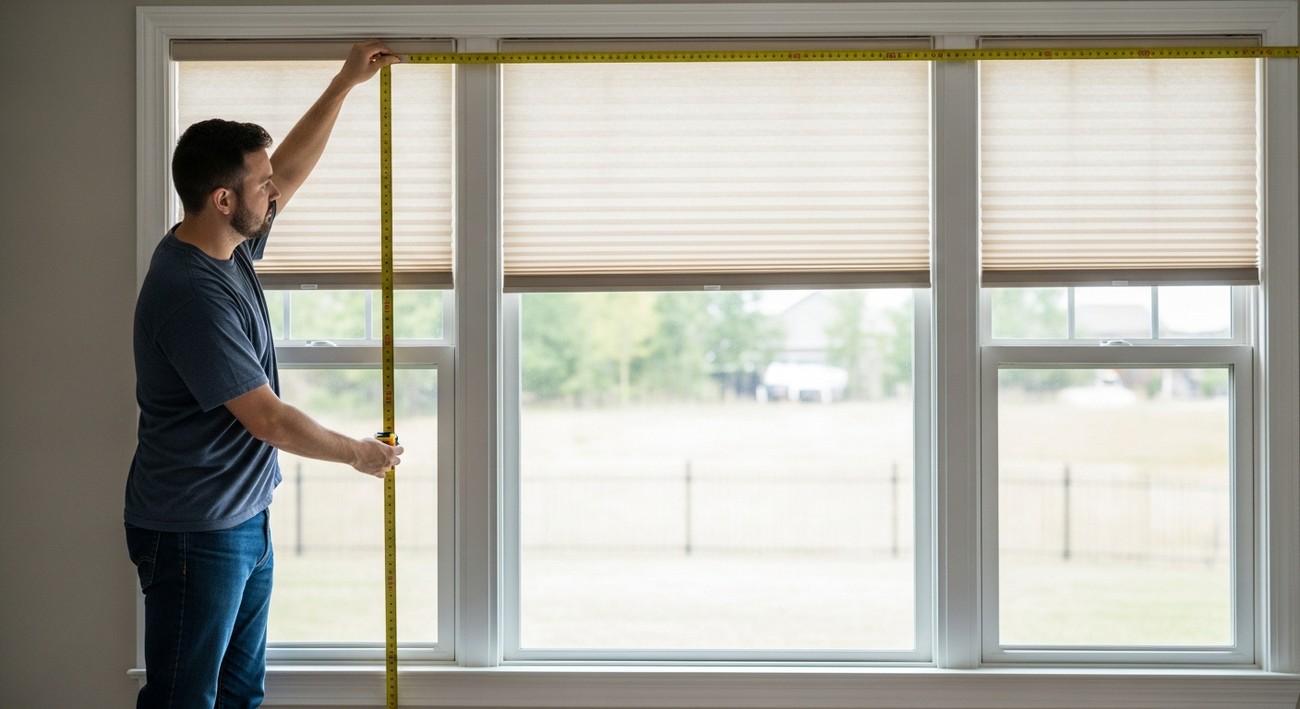
- Outside Width: Run the tape from one outside edge of the trim to the other. Measure at the top, middle, and bottom and note the largest measurement. This is crucial for installations that require outside mounts.
Measure the Height:
- Inside Height: Extend the tape measure from the top of the window opening inside the frame to the windowsill, taking measurements at the left, center, and right. Record the smallest dimension.
- Outside Height: Measure from the top of the trim to the windowsill, left, middle, and right. Again, note the largest measurement.
Check the Depth:
- Use a tape measure or a depth gauge to measure from the window glass to the edge of the window or trim. This ensures compatibility with certain window treatments.
Assess Squareness:
- To check if the window is square, measure the diagonals from corner to corner on both sides. If the measurements are close, your window is square; if not, note the discrepancies as you may need to allow for adjustments in your purchase or installation.
Repeat and Confirm:
- Always double-check your measurements by repeating the process. Small errors can mean big problems later on, so verification is key.
Tips for Success
- Use a Helper: An extra pair of hands can help stabilize a tape measure for longer spans, ensuring more precise measurements.
- Record Measurements Immediately: Write down each measurement as you take it. Consider using a digital device with a notes app to keep these safe and legible.
- Be Consistent: Always measure from the same starting point each time. Consistency reduces the chances of errors.
What to Do If Something Goes Wrong
- Re-Measure: If your numbers don't add up or seem unlikely, don’t stress. Just take a break and re-do the steps carefully.
- Get a Professional Opinion: If measuring complexities arise due to unusual window shapes or when significant structural work seems necessary, consult a professional. It's better to be safe, particularly if structural changes are needed.
- Look for Online Tutorials: There's a wealth of instructional videos and forums online that can give insights into specific window types.
- Consider Window Measuring Services: Many companies offer this service and can ensure measurements are perfect, saving you time and potential hassle.
Common Mistakes to Avoid
1. Incorrectly Measuring the Width
Why It Happens: Measuring the width of a window often seems straightforward, but it's easy to record wrong figures. Homeowners typically measure from the outer frame rather than the recessed area where blinds or curtains hang, leading to inaccurate widths.
How to Avoid It: Always measure in three places: the top, middle, and bottom of the window. Use the smallest measurement to ensure a good fit. This method accounts for any variations or warping in the window frame.
What to Do If You've Already Made the Mistake: If your measurements were taken incorrectly and you’ve already cut or ordered materials, try adjusting with minor hacks like adding window liners or spacers, or get custom blinds that can accommodate size adjustments.
Expert Recommendations: Utilize a metal tape measure for its rigidity and precision. Double-check measurements before making cuts or placing orders.
2. Overlooking the Type of Window Frame
Why It Happens: Different frames require different measurement techniques, and this detail is often overlooked in the excitement of a home improvement project.
How to Avoid It: Identify whether you have a flush-mount, inside mount, or outside mount frame before you start measuring. Each requires its own method.
What to Do If You've Already Made the Mistake: Adjust your mountings to fit the type of frame you have, possibly relocating brackets or hoops as needed.
Expert Recommendations: Consult your window's documentation or a hardware expert to ensure you're approaching the measurement process correctly.
3. Ignoring Sill Depth
Why It Happens: Enthusiasts often forget to factor in the depth of the window sill, leading to blinds or curtains that jut out awkwardly or are unable to close properly.
How to Avoid It: Measure the depth of the sill and ensure your chosen window dressing is compatible with that depth.
What to Do If You've Already Made the Mistake: Opt for extension brackets or use spacers to create the needed space.
Expert Recommendations: Always account for how far your window dressings will protrude from both the window and wall before purchasing or cutting any materials.
4. Not Considering Obstacles
Why It Happens: It’s easy to miss potential obstacles like handles, locks, or even decorative moldings that area can obstruct your window treatment.
How to Avoid It: Inspect your window area thoroughly before measurement. Ensure all obstacles are noted and accounted for in your calculations.
What to Do If You've Already Made the Mistake: Consider adding custom fittings that circumvent the obstacles, like split blinds or narrower rods.
Expert Recommendations: Carry out a fit-test using cardboard cutouts to visualize how the window treatment sits in relation to obstacles.
5. Skipping Double-Checking
Why It Happens: Measuring can feel tedious or repetitive, leading to a failure to double-check figures, especially if you're dealing with multiple windows.
How to Avoid It: Commit to double-checking each measurement at least once. It’s a small delay that saves larger problems later.
What to Do If You've Already Made the Mistake: Try to exchange the item if purchased; many suppliers allow for returns due to measurement errors.
Expert Recommendations: Dedicate a checklist to follow every time you measure to avoid missing any steps.
6. Assuming All Windows Are the Same
Why It Happens: There’s a common tendency to assume similar-looking windows are the same size, but slight variations are more common than you think.
How to Avoid It: Measure each window individually to account for any discrepancies.
What to Do If You've Already Made the Mistake: Adjust installation methods to fit each unique size, or exchange window treatments if they do not fit properly.
Expert Recommendations: A small notebook dedicated to each window’s measurement will help keep track and eliminate errors.
7. Measuring Only in One Direction
Why It Happens: People often measure just width or height separately, missing how these two dimensions can interact, especially in non-rectangular windows.
How to Avoid It: Always measure both width and height, regardless of what type of window treatment you plan to install.
What to Do If You've Already Made the Mistake: Check if custom fittings can accommodate your window's specific shape.
Final Thoughts
Measuring windows accurately can seem daunting, but with the right approach, it becomes a straightforward task. Remember to take precise measurements of the width and height of your existing window frame, keeping in mind to account for any obstructions or irregularities. This will not only ensure a proper fit but will also save you time and potential headaches during installation. Whether you're tackling a DIY project or preparing for professional assistance, knowing how do you measure windows properly is essential.
If you're considering new windows for your home in Lexington, KY, we're here to help simplify the process. At US Quality Construction of Lexington, we pride ourselves on our expertise and commitment to customer satisfaction. Feel free to reach out to us to discuss your window needs or schedule a consultation—our team is ready to guide you every step of the way. Let’s make your home more beautiful and efficient together!
Tags: measurements, window size, window installation,


