


Windows are the eyes of your home, providing a view to the outside world while also embellishing the architecture. If you have vinyl windows, you may be pondering whether you can update their look with a fresh coat of paint. This comprehensive guide dives into the feasibility of painting vinyl windows, exploring the benefits, considerations, and processes involved. Whether you're planning a complete home renovation or just want a fresh change, knowing this process can be incredibly valuable.
Understanding Vinyl Windows
Vinyl windows have gained popularity due to their energy efficiency, affordability, and low maintenance requirements. Made from polyvinyl chloride (PVC), these windows are durable, offering impressive insulation properties. However, the key question remains: can these durable materials handle a coat of paint?
Why Consider Painting Vinyl Windows?
Painting vinyl windows can breathe new life into a home's aesthetic at a fraction of the cost of window replacement. Here are some reasons why homeowners might consider painting:
- Aesthetic Appeal: Over time, the color of vinyl windows can fade. Painting them allows for customizing the exterior or matching new paint schemes.
- Save Money: Instead of replacing windows entirely, you can rejuvenate them with paint, saving you a substantial amount on window replacement costs.
- Home Value: A refreshed window appearance can significantly enhance the curb appeal, possibly increasing the value of a home.
Factors to Consider
Before diving into the painting process, it's crucial to understand the factors that must be considered to ensure a successful outcome.
Manufacturer Guidelines
First and foremost, check the manufacturer's warranty and guidelines. Some manufacturers explicitly state that painting the windows voids the warranty. It's essential to be well-informed about this aspect before proceeding.
Climate and Weather
The climate plays a pivotal role in the decision to paint vinyl windows. Extreme temperatures or conditions, like excessive sunlight or high humidity, can affect the paint’s lifespan and adherence.
Appropriate Paint
Using the right kind of paint is crucial. Generally, you should use a high-quality, exterior-grade, acrylic-based paint that can adhere to vinyl. Opting for a paint designed specifically for plastic or vinyl surfaces ensures better durability.
How to Paint Vinyl Windows
If after weighing the considerations you still decide to move forward, follow this step-by-step guide to achieve the best results.
Preparing the Windows
A successful painting job starts with thorough preparation. This is a crucial stage that ensures the durability of the paint finish.
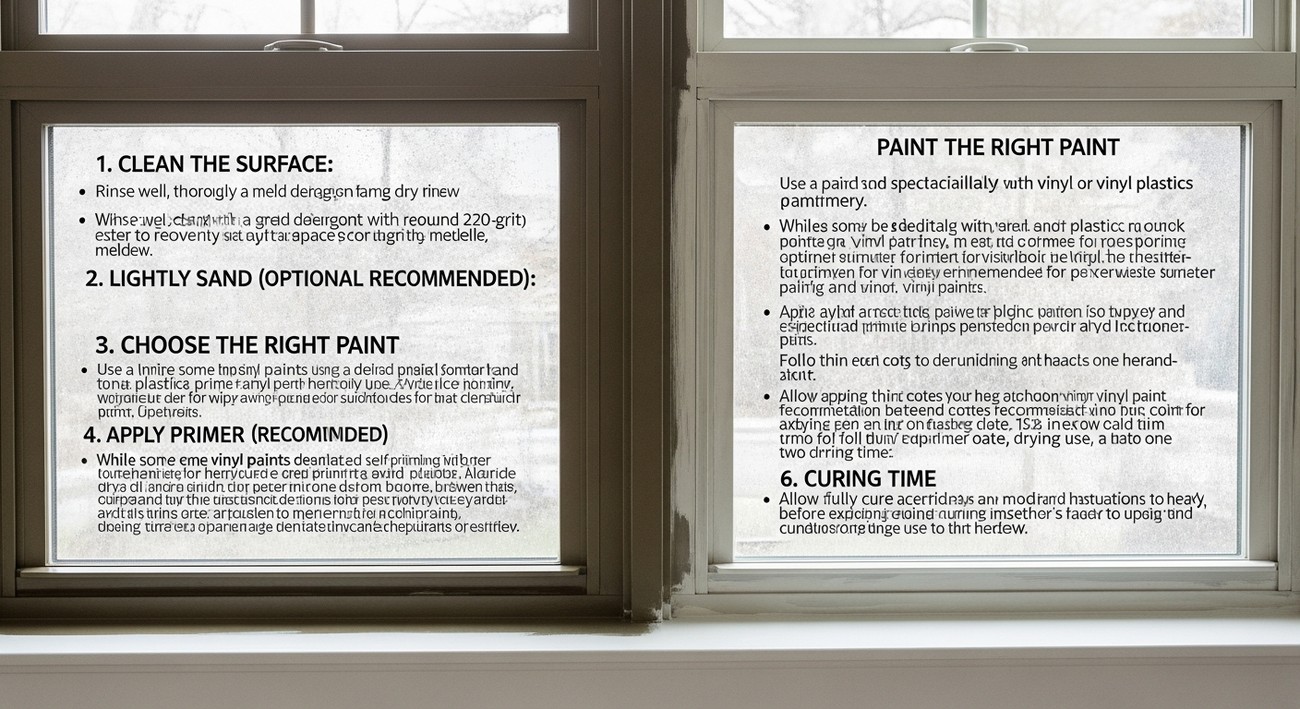
- Clean the Surface: Begin by cleaning the windows with a mild detergent and water. Removing dirt, dust, and oily residues is essential for good paint adhesion.
- Sand the Vinyl: Lightly sand the vinyl surface with fine-grit sandpaper to create a texture that helps the paint stick better.
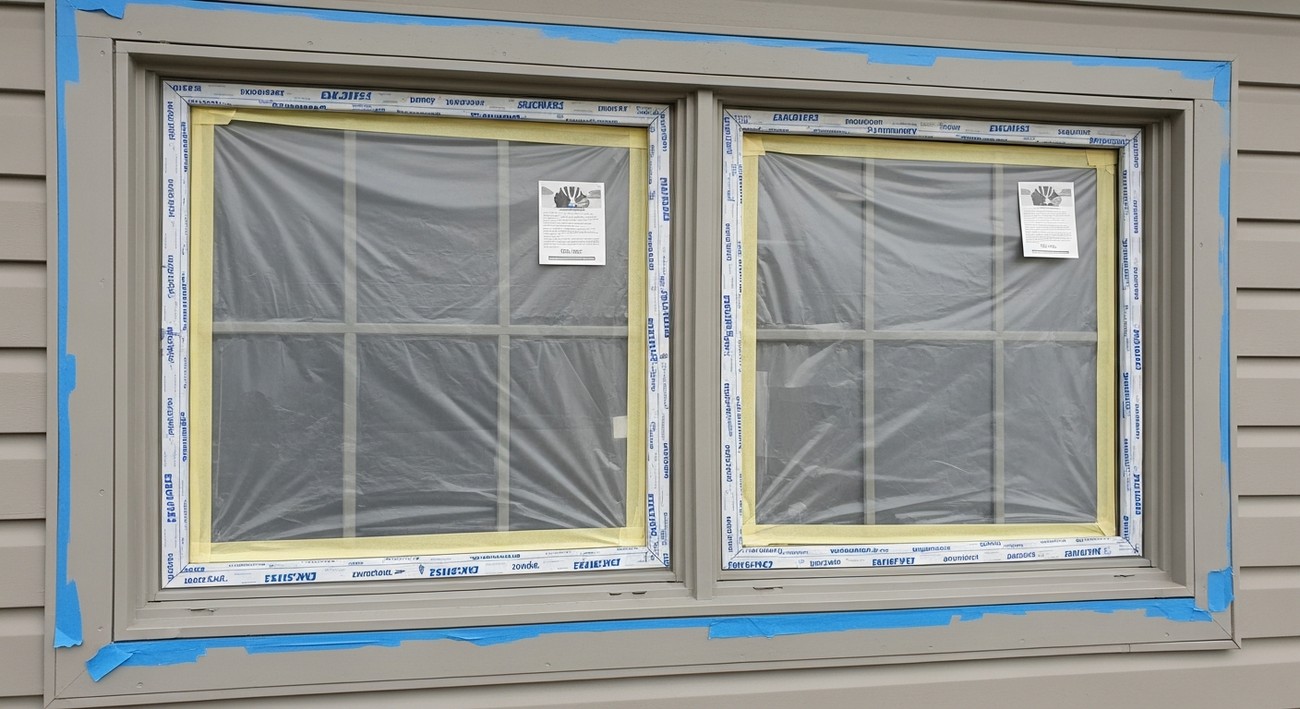
- Tape and Protect: Use painter’s tape to protect the glass and any areas that should not be painted. Ensure all glass and non-target areas are covered.
Painting Process
With the preparation complete, you can move on to painting the windows.
- Prime the Surface: Applying a primer designed for vinyl is optional but recommended for better longevity. Ensure it’s completely dry before proceeding.
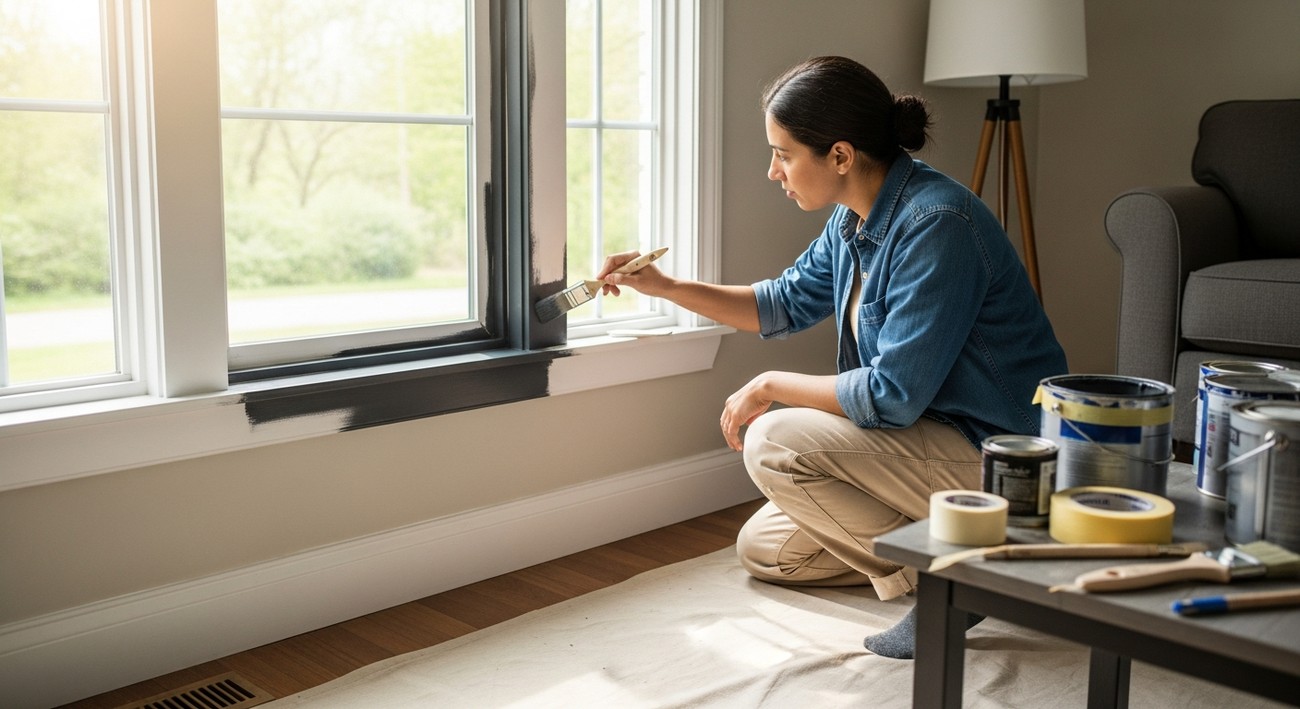
- Paint Application: Using a brush or roller, apply the paint in thin, even coats. Multiple light coats work better than one thick layer. Allow each coat to dry before applying the next.
- Curing Time: After the final coat, let the windows cure without touching them for at least 24-48 hours for a durable finish.
Maintenance Tips
After painting, you'll want to ensure the new look is maintained over time.
- Regular Cleaning: Gently clean with non-abrasive cleansers to avoid damaging the paint.
- Inspect Regularly: Check for chips or flaking, and touch up as needed to prolong the life of the paint job.
Avoiding Common Mistakes
When painting vinyl windows, steer clear of these common pitfalls:
- Skipping Primer: While it's tempting to skip, a primer is crucial on some vinyl surfaces for the paint to adhere properly.
- Choosing the Wrong Color: Avoid dark colors as they absorb more heat, potentially leading to warping of the vinyl.
By being aware of these tips and following the steps diligently, homeowners can ensure a professional-grade finish without unnecessary headaches.
Can You Paint Vinyl Windows? Frequently Asked Questions
Is It Possible to Paint Vinyl Windows?
Yes, it is possible to paint vinyl windows. While vinyl windows are designed to be low maintenance, meaning they don’t necessarily require painting to preserve their function, there may be aesthetic reasons someone might choose to paint them. With the correct preparation and the right type of paint, vinyl window frames can be painted to give them a fresh look or to match the color scheme of your home.
What Is the Best Paint for Vinyl Windows?
The best paint for vinyl windows is a high-quality exterior acrylic latex paint. It’s important to select a paint that is specifically formulated for use on vinyl surfaces to ensure proper adhesion and durability. Many paint manufacturers produce formulations specifically for vinyl, so reading the label or consulting with a paint professional can help you choose the right product.
Do You Need To Prime Vinyl Windows Before Painting?
Priming vinyl windows is often recommended before painting to enhance paint adhesion. Using a high-quality primer designed for vinyl is critical, especially if you are changing from a lighter to a darker color. The primer will help to prepare the surface and can prevent peeling and chipping over time, resulting in a longer-lasting finish.
Will Painting Vinyl Windows Void the Warranty?
In many cases, painting vinyl windows may void the manufacturer’s warranty. Most window manufacturers specify that any alterations, including applying paint, can negate the warranty. It’s crucial to check with the manufacturer or review the warranty information before proceeding to paint your windows to avoid any future issues.
How Should You Prepare Vinyl Windows for Painting?
To prepare vinyl windows for painting, start with a thorough cleaning to remove dirt, grease, and other debris. Use a mild soap and water solution, rinse well, and allow them to dry completely. Next, lightly sand the surface to help the paint adhere better, being sure not to damage the vinyl. Finally, wipe down the frames with a damp cloth to remove dust from sanding before applying primer or paint.
Can You Paint Vinyl Windows a Dark Color?
Yes, you can paint vinyl windows a dark color, but it’s crucial to use paint specifically designed for vinyl to avoid potential problems. Dark colors can cause the vinyl to absorb more heat, possibly leading to warping or damage. Some manufacturers offer paint in darker shades with special formulations to reflect more solar energy, minimizing this risk.
How Long Does Painted Vinyl Windows Last?
The longevity of painted vinyl windows depends on several factors, including the quality of paint used, weather conditions, and how well the surfaces were prepared beforehand. Typically, a high-quality paint job on properly prepped vinyl windows can last anywhere from 7 to 10 years before it will need to be refreshed. Regular maintenance, like cleaning and inspecting for damage, can help extend the life of the paint job.
Are There Alternatives to Painting Vinyl Windows?
Yes, there are alternatives to painting vinyl windows, such as using vinyl-safe sprays or wraps, which can offer a change in appearance without paint. These options can be less permanent and potentially preserve the warranty on your windows. Additionally, window manufacturers may offer color customization options or replacement sashes with different colors.
Can You Remove Paint from Vinyl Windows if You Change Your Mind?
Removing paint from vinyl windows can be challenging and may not always yield satisfactory results. Generally, scraping, using paint removers specifically for vinyl, or sanding is necessary to remove the paint. However, these methods can potentially damage the vinyl surface. If removal is necessary, consulting a professional might help to ensure the job is handled with the least risk.
How Does Weather Affect the Painting Process for Vinyl Windows?
Weather plays a significant role in the success of painting vinyl windows. It’s ideal to paint on a mild, dry day to ensure proper adhesion and drying. High humidity, rain, or extreme temperatures can lead to longer drying times, poor adhesion, and eventual cracking or peeling of the paint. Always check weather forecasts before starting your project to find the most suitable days.
What Are Common Pitfalls to Avoid When Painting Vinyl Windows?
Common pitfalls when painting vinyl windows include inadequate surface preparation, using the wrong type of paint, and painting in poor weather conditions. Failing to prime or clean properly can result in poor paint adhesion, leading to peeling or chipping. Additionally, not considering the effect of dark colors on vinyl can lead to warping issues due to heat absorption. Proper research and preparation can help avoid these pitfalls.
Step-by-Step Guide
Tools/Materials Needed
- Mild soap or detergent
- Water
- Sponge or cloth
- Sandpaper (220-grit)
- Painter's tape
- Plastic sheeting or drop cloths
- High-quality acrylic latex paint (suitable for vinyl)
- Paintbrushes or spray painter
- Primer (specifically designed for vinyl surfaces)
- Safety goggles
- Gloves
- Respirator mask
Preparation Steps
Assess the Windows: Before starting, examine your windows for any signs of damage or areas that might need special attention. Painting won’t fix operational issues, so ensure everything works properly.
Clean the Windows: Use a mixture of mild soap and water to thoroughly clean the vinyl surface. Remove all dirt, dust, and debris using a sponge or cloth. Cleaning is crucial for paint adherence.
Sand the Surface: Lightly sand the vinyl with 220-grit sandpaper. This will create a rough surface for the primer and paint to adhere to better. Wipe down the vinyl with a damp cloth afterward to remove any dust created by sanding.
Protect Surroundings: Use painter's tape to mask off areas adjacent to the vinyl you plan to paint, like the glass and surrounding wall or siding. Cover the floor and nearby furniture or plants with plastic sheeting or drop cloths to safeguard them against accidental paint spills or splashes.
Detailed Instructions
Prime the Surface: Apply a coat of primer specifically designed for vinyl surfaces. Use a paintbrush for smaller areas or a sprayer for more extensive sections. Allow the primer to dry thoroughly, following the manufacturer's recommended drying time.
Mix the Paint: Stir your chosen acrylic latex paint thoroughly to ensure even color and consistency. If you're using a spray painter, ensure the paint is thinned as per the manufacturer’s instructions for an even application.
Apply the First Coat: Start by applying a thin, even coat of paint to the vinyl windows. Use long, smooth strokes if painting by hand. If using a sprayer, maintain a consistent distance from the surface to avoid runs and drips. Allow this first coat to dry as directed by the paint manufacturer.
Apply Additional Coats: Depending on the color change and the coverage of your first coat, you might need one or two additional coats. Follow the same process, ensuring each coat dries thoroughly before applying the next for optimal results.
Inspect for Flaws: Carefully examine your work after the final coat for any uneven spots, streaks, or thin areas. Touch up these spots as necessary.
Remove Tape and Coverings: Once the paint is fully dry, gently remove any painter's tape and coverings. Be cautious during this step to avoid peeling off the fresh paint.
Tips for Success
- Choose Wisely: Opt for paint colors that are safe for vinyl windows. Very dark colors can absorb heat, which might warp the vinyl.
- Climate Considerations: Perform the painting in favorable weather conditions—preferably when it's dry with moderate temperatures. Extreme cold or heat can affect the curing and adhesion process.
- Ventilation is Key: When painting indoors, ensure adequate ventilation to disperse any fumes.
What to Do If Something Goes Wrong
Remember, even meticulous preparation may encounter hiccups along the way. The solution often lies in patience and a willingness to adapt and redo a few steps if needed. Persevere and your vinyl windows can look revitalized and refreshed with a professional finish.
Common Mistakes to Avoid
1. Skipping the Primer
Why it happens: Many assume that because vinyl is a smooth surface, primer is unnecessary. This belief might arise from comparisons with other materials like wood, which are known to need primers.
How to avoid it: Always start with a high-quality bonding primer designed specifically for vinyl surfaces. This ensures that the paint adheres properly, extends the life of your work, and enhances the finish.
What to do if you've already made the mistake: If your paint is peeling or flaking, you'll need to strip it off, clean the surface, and start over with a primer. It’s time-consuming, but essential for durable results.
Expert recommendation: Invest in a primer that specifically mentions its compatibility with vinyl. It may cost a bit more upfront, but it'll save you hassles down the line.
2. Using the Wrong Type of Paint
Why it happens: Not all paint formulations are created equal, and it's easy to mistakenly use paints intended for other surfaces.
How to avoid it: Choose a high-quality acrylic latex paint that is flexible and capable of expanding and contracting with the vinyl material, preventing cracking or peeling.
What to do if you've already made the mistake: If you've applied the wrong paint, you’ll need to let it cure fully, sand it down carefully, and then repaint using a suitable option.
Expert recommendation: Before purchasing paint, consult with a paint specialist at your local hardware store who can recommend the best product for your vinyl windows.
3. Ignoring Surface Preparation
Why it happens: In a rush to see the final results, many skip the essential steps of cleaning and sanding which leads to poor paint adhesion.
How to avoid it: Thoroughly clean the window surface using a mild detergent to remove dust and dirt. Lightly sand the surface with fine-grit sandpaper to create a texture that helps the primer and paint adhere.
What to do if you've already made the mistake: If the paint is not adhering well, you may need to remove it, clean, sand, and reapply the primer and paint.
Expert recommendation: Give extra attention to corners and edges during preparation; these areas are prone to paint peeling if not prepped properly.
4. Painting in Inappropriate Weather Conditions
Why it happens: It might seem like a great idea to paint on a sunny day, but extremes in temperature can affect paint performance.
How to avoid it: Paint when the temperature is between 50-90 degrees Fahrenheit and humidity is low. Avoid painting in direct sunlight or windy conditions to prevent premature drying or dust contaminating the paint.
What to do if you've already made the mistake: If the paint job suffers due to environmental conditions, assess the damage. Minor issues might be fixed by sanding and repainting, but more severe problems may require a full redo.
Expert recommendation: Keep an eye on the weather forecast and plan your project for optimal conditions to ensure the best finish.
5. Not Allowing Adequate Drying Time
Why it happens: Eagerness to complete the project or use the windows again can lead to insufficient drying time, impairing the final outcome.
How to avoid it: Follow the paint and primer instructions regarding drying time diligently. Allow each coat to dry fully before applying the next one.
What to do if you've already made the mistake: Unfortunately, rushing this can result in peeling or smudging. You may need to sand down and redo the affected layers once fully cured.
Expert recommendation: Patience is key. Setting aside enough time for the entire project is crucial for professional-looking results.
6. Neglecting Safety Measures
Why it happens: In a home DIY setting, safety might not seem like a top priority, leading to oversight. How to avoid it: Wear suitable personal protective equipment such as gloves, masks, and eye protection. Ensure the area is well-ventilated if painting indoors. What to do if you've already made the mistake: If you've exposed yourself to paint fumes or skin contact, take immediate steps to ventilate the area and wash the affected skin with soap and water. Expert recommendation: Always read the paint safety guidelines and adhere to them strictly to protect your health.
Final Thoughts
Painting vinyl windows is indeed possible, but it requires the right preparation and techniques to ensure a long-lasting finish. We’ve explored how this can be a great way to refresh the look of your home without the cost of replacement. It’s important to choose high-quality, flexible paint designed for vinyl, as well as to follow the proper application procedures. Doing so can yield fantastic results that breathe new life into your windows while maintaining their functionality.
If you’re considering this project and want to ensure it’s done correctly, we invite you to reach out to us at US Quality Construction of Lexington. We have the expertise to guide you through the process, whether it’s painting, replacing, or simply repairing your vinyl windows. Contact us today for a consultation, and let’s turn your vision into reality while enhancing the charm of your home in Lexington, KY.
Tags: painting, vinyl windows, home improvement,


